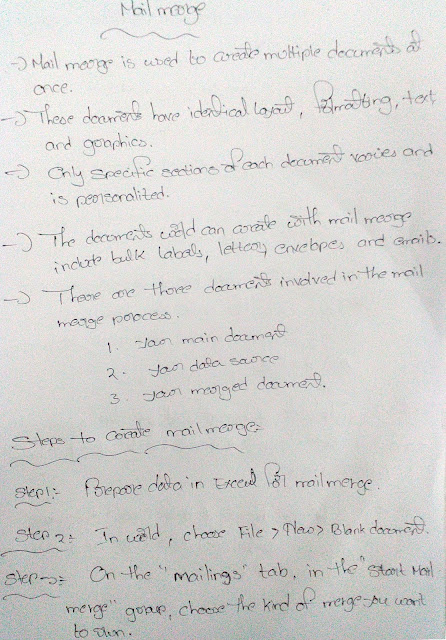
- Mail merge is used to create multiple documents at once.
- These documents have identical layout, formatting, text, and graphics.
- Only specific sections of each document varies and is personalized.
- The documents word can create with mail merge include bulk labels, letters, envelopes and emails.
- There are 3 documents involved in the mail merge process.
- Your main document
- Your data source
- Your merged document
Steps to Create Mail Merge:
- Prepare data in Excel for mail merge.
- In Word, choose "File" > "New" > "Blank document".
- On the "Mailings" tab, in the "Start Mail merge" group, choose the kind of merge you want to run.
- Choose "Select Recipient" & click "Use an Existing List".
- Browse to your Excel spreadsheet, and then choose "Open".
- If word prompts you choose "Sheet 1$" & click "OK".
- Choose "Edit Recipient List".
- In the "Mail Merge Recipients" dialog box, clear the check box next to the name of any person who you don't want to receive your mailing.
- Insert a merge field on the "Mailings" tab, in the "Write & Insert Fields" group choose "Address Block".
- In the "Insert Address Block" dialog box, choose a format for the recipient's name as it will appear on the envelope.
- Choose "OK".
- To insert data from your spreadsheet in an email message or a letter.
- On the "Mailings" tab, in the "Write & Insert Fields" group, choose "Insert Merge Field".
- In the "Insert Merge Field" dialog box, under fields, choose a field name (column name in your spreadsheet) and then choose "Insert".
- Save your mail merge.
Video:
My notes images:
My notes images:


